
Insulation Upgrades During a Remodel
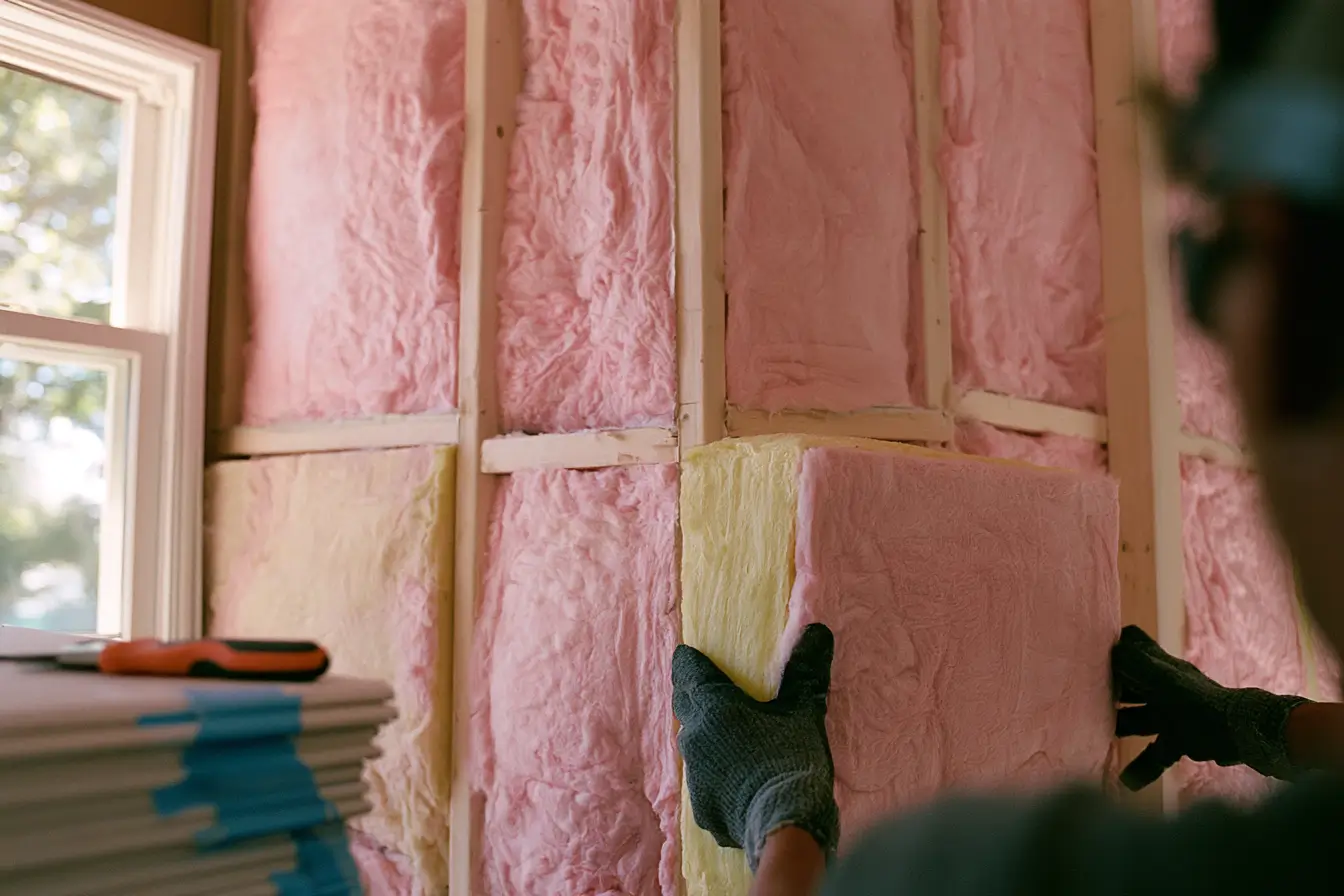
There is exactly one cheap moment to insulate a wall: while it is open. Every remodel that exposes framing, a kitchen gut, a bathroom down to studs, a basement build-out, an addition tying into old rooms, is a one-time discount on work that costs three times as much once the drywall is back up. Most homeowners budget for what they can see and treat insulation as an incidental. This article makes the case for flipping that, and covers what to add where, what it costs, and the air-sealing step that matters more than the fluffy stuff itself.
Why remodels are the moment
Insulation retrofit pricing is dominated by access. Dense-packing a closed wall means drilling and patching every stud bay; insulating that same wall during a remodel means stapling batts into cavities that are already open. The material is the same. The labor context is everything. This is why the smart version of this decision is opportunistic: nobody guts a kitchen to insulate, but nobody should close a gutted kitchen without insulating.
Older Denver housing stock raises the stakes. Homes built before the 1960s frequently have empty exterior walls, no insulation at all, just plaster, sheathing, and a 3.5-inch air gap doing nothing. If your remodel opens walls in a house of that era, you are looking at the single best efficiency opportunity the house will ever offer. It is one of the recurring themes in our guide to historic home renovation in Denver, where what is inside the walls matters as much as what is on them.
Air sealing comes first
Insulation slows heat conduction. It does very little against air movement, and air movement is the bigger thief in most older homes. Warm air escapes through gaps around plumbing penetrations, wiring holes, the attic hatch, recessed lights, and the joint where the house's framing meets the foundation. Sealing those leaks with caulk and foam before the insulation goes in is cheap, unskilled-looking work that outperforms almost anything else on a per-dollar basis. An insulated but leaky wall is a sweater in the wind.
During a remodel, the sealing checklist is straightforward: foam every penetration in the open framing, seal the band joist where floor framing meets the foundation, gasket the electrical boxes on exterior walls, and address whatever the opened ceiling reveals about light fixtures and duct chases. The crew is already standing there. It is an hour of work per room.
What to put where
Open walls get batts or damp-spray cellulose. Standard 2x4 walls take R-13 to R-15; 2x6 walls take R-19 to R-21. Batts installed well, cut around boxes rather than stuffed behind them, no gaps or compression, perform close to their rating. Batts installed badly perform far below it, and bad installation is the industry default. This is a place where supervision matters more than product selection.
Attics are the highest-return surface in the house and usually do not even require a remodel to access. Denver sits in climate zone 5, where code calls for roughly R-49 to R-60 at the ceiling. Blown-in cellulose or fiberglass runs $1.50 to $3.50 per square foot installed, and topping up a thin attic is often a single-day project. If your remodel touches the ceiling below the attic at all, sequence the air sealing first, then the blow-in after the ceiling work is done.
Basement walls in a build-out get rigid foam against the concrete, sealed at the seams, before framing, or closed-cell spray foam in the framed cavity. Fiberglass batts alone against concrete are a mold sandwich waiting for a damp season. Moisture handling and insulation are one combined decision below grade, and the order of operations matters, which our article on basement moisture before you finish covers in detail.
Sound walls are the sleeper upgrade. Mineral wool batts in interior walls around bathrooms, laundry rooms, and bedrooms cost little while the framing is open and permanently change how the house lives. Nobody regrets a quiet bathroom wall.
What it costs and what it returns
For a typical remodel scope, insulating the opened walls adds $1.50 to $4.00 per square foot of wall area for batts, and $4.00 to $7.00 for closed-cell spray foam where a higher R-value per inch or a moisture barrier is needed. On a kitchen remodel with two exterior walls open, that is often under $1,500. Attic top-ups on a typical Denver home run $1,800 to $4,000 to reach R-49 or better. Xcel Energy rebates routinely offset a meaningful slice of insulation and air-sealing costs, and the federal 25C tax credit currently covers 30 percent of insulation materials up to $1,200 per year. Paperwork worth doing.
The return shows up three ways: heating and cooling bills drop, rooms stop having cold walls and drafts, and the mechanical systems get to be smaller and cheaper at their next replacement because the house they serve leaks less. That last one is the overlooked compounding effect, and it is why whole-home projects treat the envelope as the foundation of every other decision. Our guide to whole home remodels in Denver puts insulation in that larger sequence.
Code, permits, and the drywall inspection
Remodels that open walls trigger Denver's energy code for the assemblies being altered, which in practice means the opened wall usually must be insulated to current requirements before it closes, and the inspector will want to see it before drywall. This catches homeowners who planned to skip it, and it is a reasonable rule: the marginal cost is small, and the city knows the wall will not be open again for forty years. Where insulation fits among the other inspection stages is covered in our walkthrough of Denver home remodel permits.
The practical takeaway is a habit, not a project: any time a remodel opens a surface between inside and outside, ask what that surface should hold before it closes. Seal it, insulate it to code or better, photograph it for your records, and then let the drywall crew in. The finishes will get all the compliments. The insulation will quietly pay for them.