
Basement Moisture Before You Finish
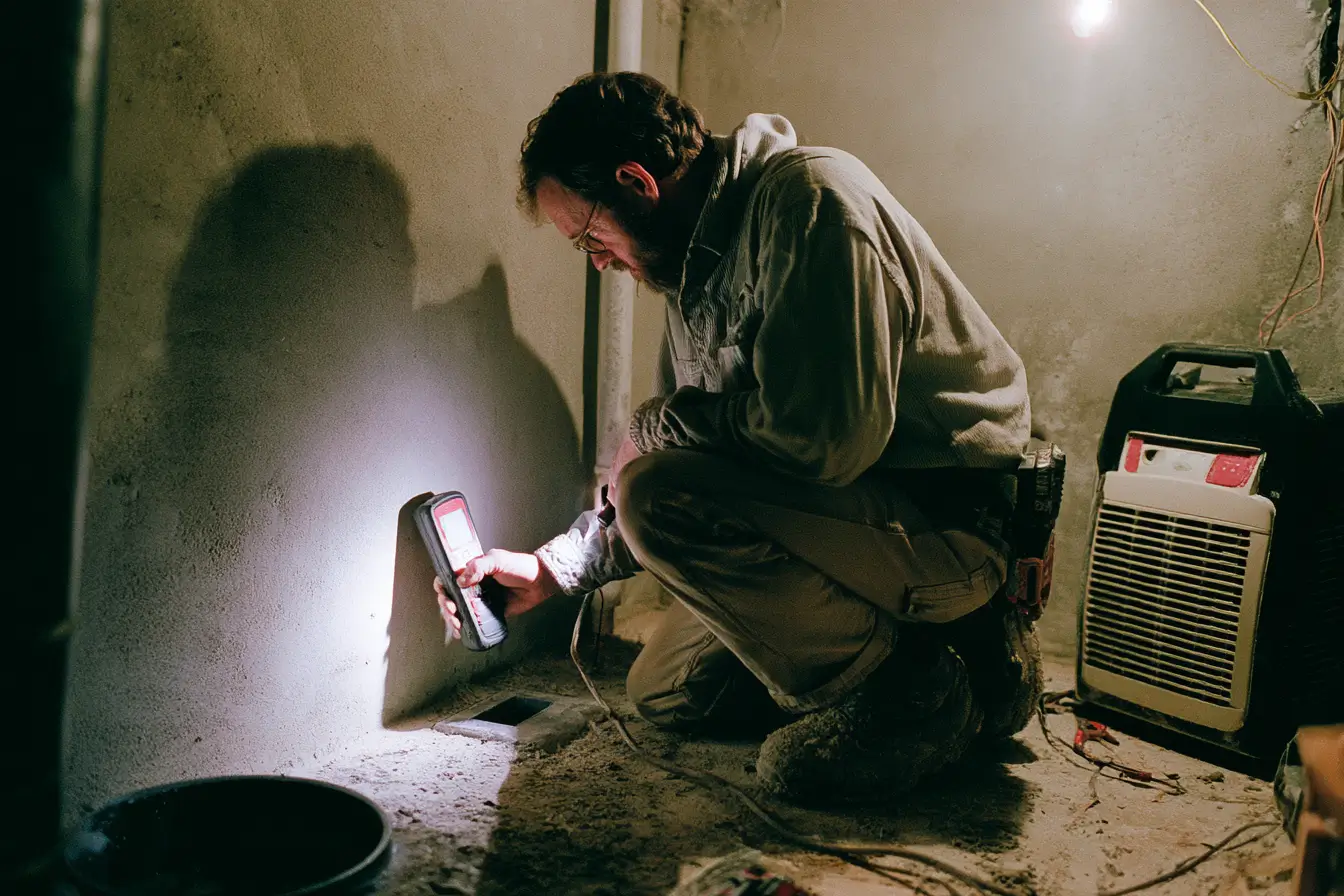
Every finished basement is a bet that water will stay out of it, and the bet is placed before the first stud goes up, whether anyone thought about it or not. Finishing over a moisture problem doesn't hide it, it gives it drywall to ruin and carpet to grow things in, invisibly, behind surfaces you just paid for. This article covers how to evaluate basement moisture before finishing, what the fixes actually are, and which ones belong in your project even when the basement looks dry.
Why this is a before-you-finish problem
An unfinished basement announces its moisture honestly: efflorescence on the wall, a damp corner after storms, a musty smell in spring. A finished basement conceals all of it until the problem is big enough to come through the finishes, at which point the repair includes demolition of the finishes.
The cost asymmetry is stark. Addressing moisture in an open basement means sealing, grading, gutters, maybe drainage work, done with full access. The same problems discovered after finishing mean tearing out wet drywall, moldy insulation, and buckled flooring first, then doing the same repair, then re-finishing. Denver's expansive clay soils sharpen the stakes: soil that swells against foundation walls when saturated is a regional condition, and managing water at the foundation is the main defense.
Reading your basement before the project
Spend one wet season paying attention before you finish, or at minimum, inspect deliberately. Look for white mineral staining (efflorescence) on walls, water has moved through that concrete. Check corners and the slab edge after heavy rain and spring melt. Note musty odor, which is moisture you're smelling rather than seeing. Look at horizontal crack lines or inward bowing in the wall, along the Front Range that pattern can indicate clay pressure and graduates the conversation from moisture to structure. Tape a square of plastic sheeting to the slab and the wall for a couple of days: condensation on the underside means vapor is coming through the concrete.
Then walk outside, because most basement water problems are exterior problems. Downspouts dumping at the foundation, grading that slopes toward the house, and window wells without drainage account for a remarkable share of wet basements, and they're the cheap fixes. Downspouts and gutters do more for a dry basement than most waterproofing products, and our guide to gutter replacement in Denver covers when the system itself needs help.
The fix hierarchy, cheap to expensive
Water management outside: extend downspouts well away from the foundation, correct grading so soil slopes away, clean gutters, add window-well covers and drainage. Hundreds of dollars, and it resolves or improves a large share of cases.
Sealing and minor repair: patch non-structural cracks, seal penetrations, apply appropriate coatings to interior walls. Useful against damp and vapor, not a defense against hydrostatic pressure.
Interior drainage: perimeter drain channel under the slab edge feeding a sump pit and pump. This is the standard serious fix for basements that take on water, it doesn't stop water reaching the house, it captures and ejects it before it reaches the floor. Typically $3,000 to $10,000 depending on perimeter length, and it's disruptive, which is exactly why it belongs before finishing rather than after.
Exterior excavation and waterproofing: dig to the footing, membrane the wall, replace the exterior drain. The most complete and most expensive path, usually reserved for chronic problems or when structural repair is happening anyway.
A sump system deserves two accessories in a finished-basement context: a battery backup, because pumps fail during the storms that need them, and a water alarm, because the finished basement's early-warning system is otherwise the smell of wet carpet.
Building the finish to tolerate moisture
Even a dry basement is a below-grade concrete box, and the finish materials should respect that. Keep wood framing off the slab with foam sill seal or use steel. Choose inorganic insulation, rigid foam against concrete rather than fiberglass batts in contact with the wall, fiberglass against below-grade concrete is a mold recipe. Use flooring that tolerates vapor: luxury vinyl plank, tile, or engineered options rated for below grade, and be suspicious of solid hardwood and thick pad-and-carpet directly on slab. Leave the mechanical access points accessible, the sump, the cleanouts, the main shutoff, because burying them behind finished walls converts maintenance into demolition.
None of this costs much at build time. All of it determines whether a future incident is a wet-vac weekend or an insurance claim.
Common mistakes homeowners make
Finishing a basement that's only been observed in dry months is the big one, Denver's water events are seasonal and episodic, and August tells you nothing about May. Treating a past flood as a one-time event because it hasn't recurred is second. Skipping the $300 of downspout and grading work while spending $40,000 on finishes is third and weirdly common. And framing directly over an active crack or against a damp wall because the schedule was already set, the wall doesn't know about the schedule.
What this means for your project
Fold a moisture evaluation into the front of any basement finishing plan: the visual inspection, the plastic-sheet test, the exterior walk, and an honest accounting of any history of water. Price the appropriate tier of fix into the project, for many Denver basements that's exterior water management plus vapor-tolerant materials, for some it's a drain-and-sump system that costs a fraction of the finishes it protects. If the evaluation turns up wall movement rather than just moisture, bring in a structural engineer before the finish plan proceeds, pressure problems and water problems along the Front Range often travel together.
A finished basement is some of the cheapest living space a Denver home can add, and the economics only hold if it stays finished. The moisture work is the least visible line in the budget and the one doing the most to protect every other line, which is the quiet argument for doing it first, while everything is still open and honest.